Getting Started with Fluent Forms
Walk through sign-up, company setup, and the onboarding checklist. Go from zero to a working workspace.
This guide walks you through creating your account, setting up your company, and completing the onboarding checklist. You'll be up and running in about 5 minutes.
Create your account
Head to fluentforms.co/signup and fill in:
- Company name — the name of your business or team
- Your name — optional, you can add this later
- Email address — used to sign in and receive notifications
- Password — must be at least 8 characters
You can also sign up with Google for one-click registration.
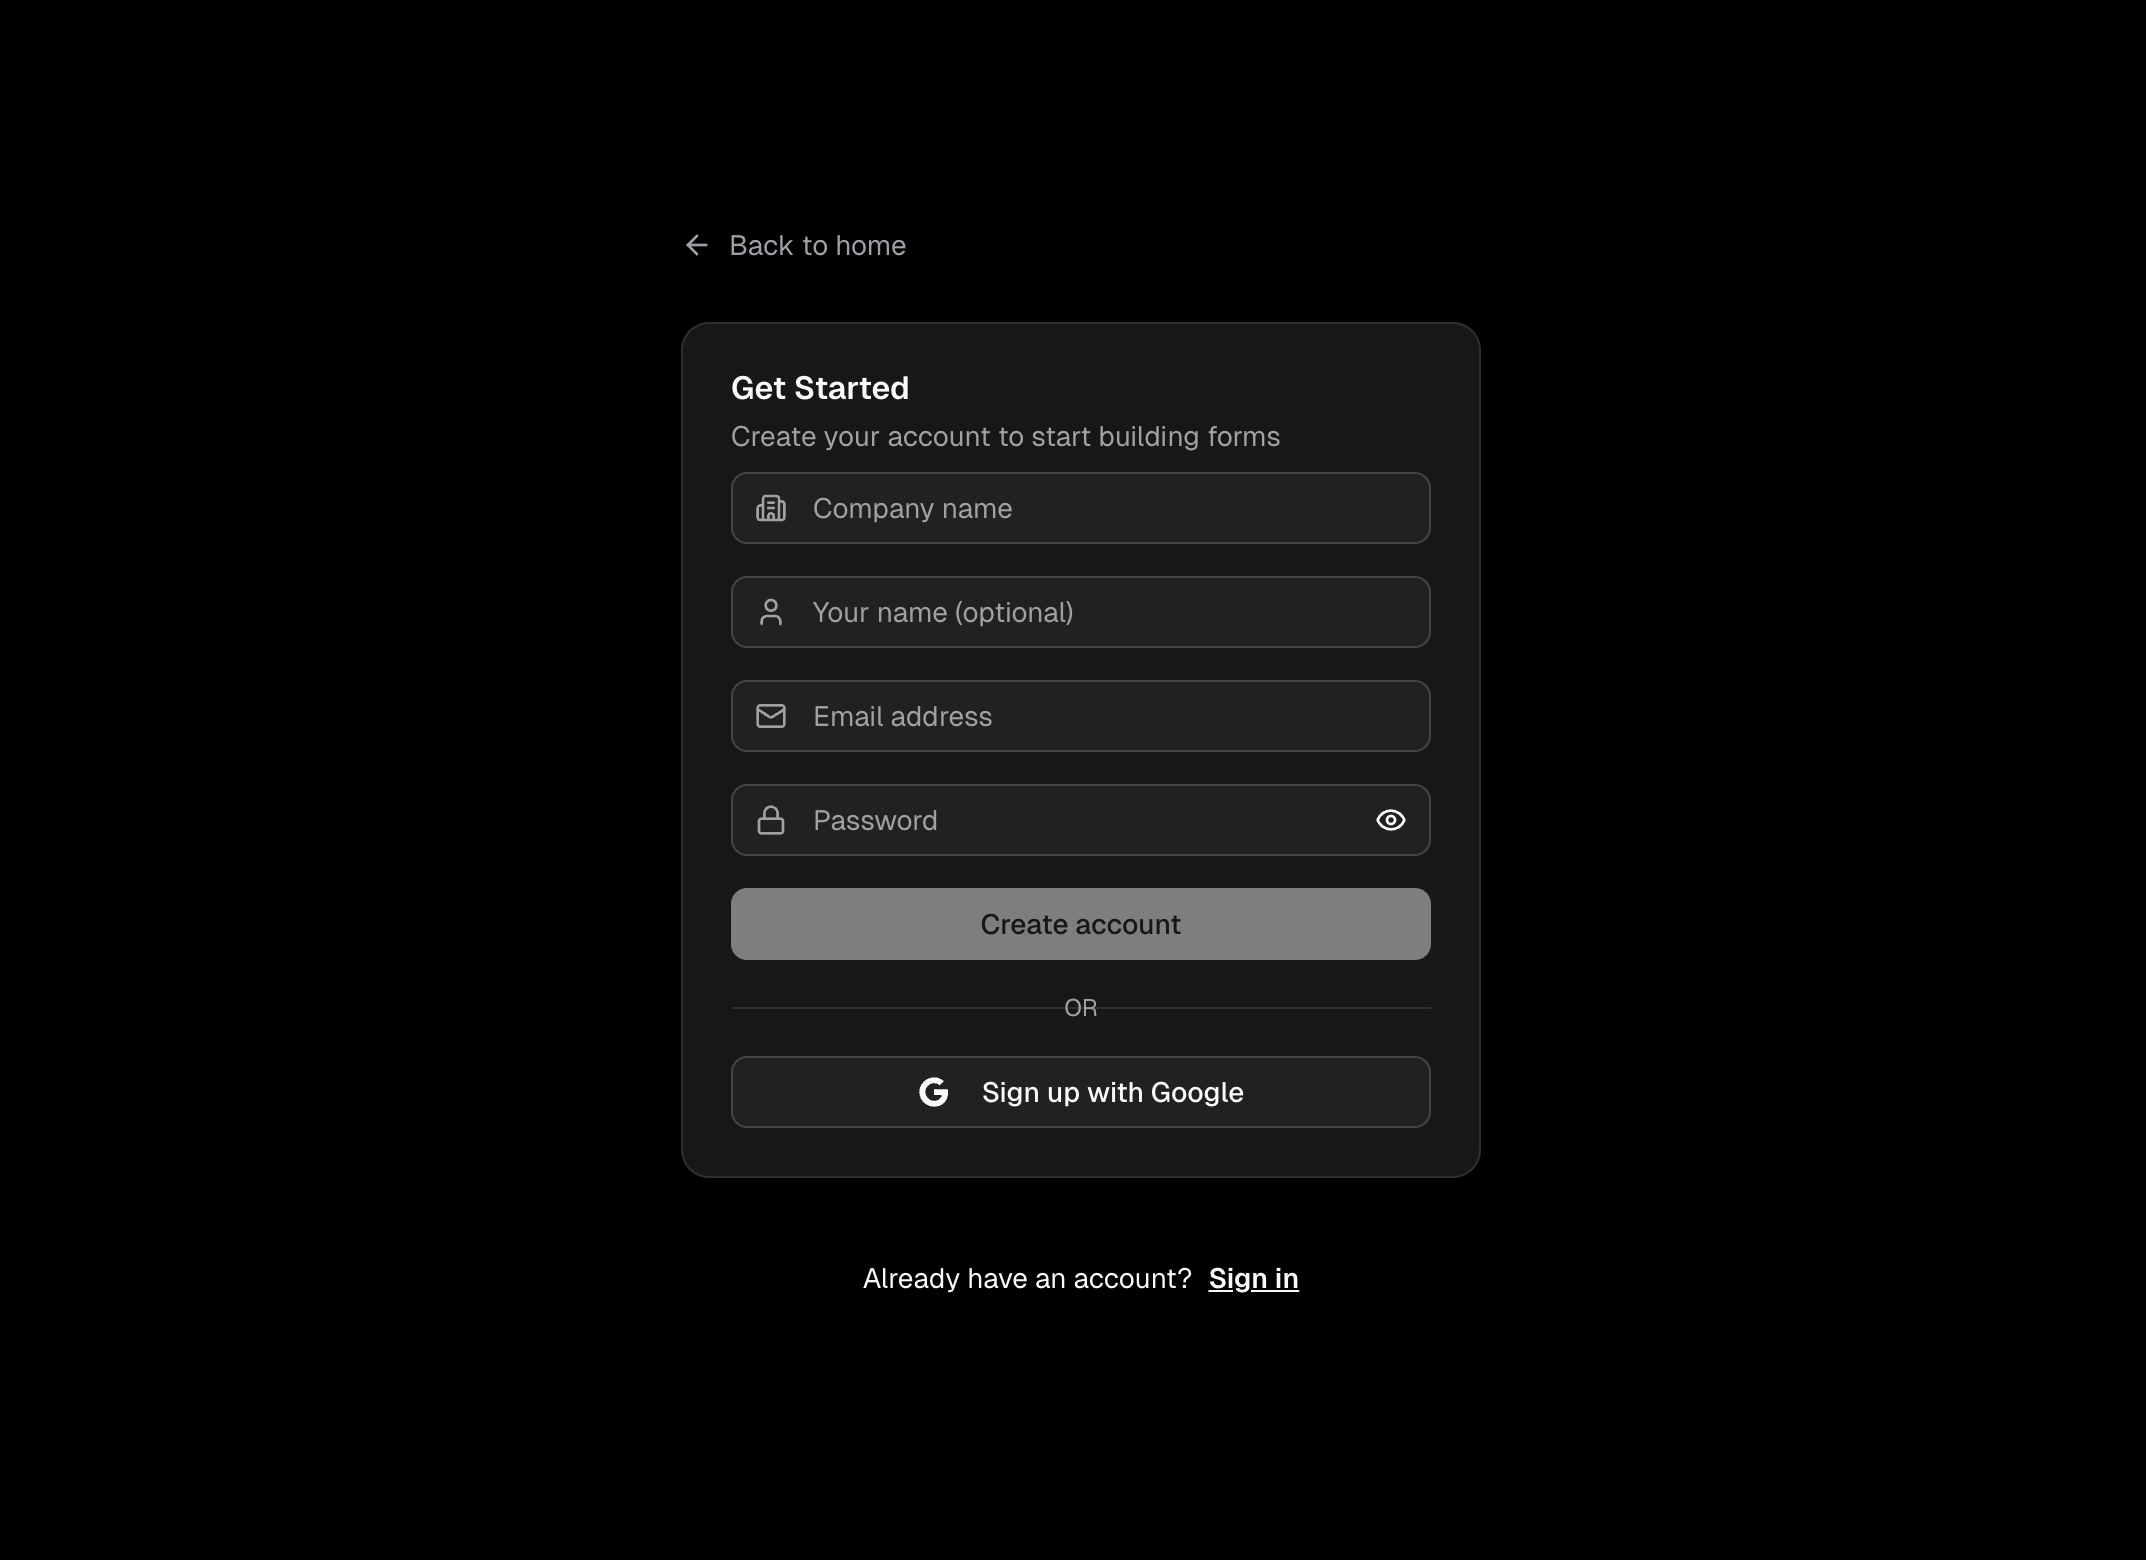
Press Create account, then check your inbox for a verification email. Click the link to confirm your address and you'll be taken straight into the app.
The onboarding wizard
After verifying your email you'll land on a full-screen onboarding wizard. It walks through everything step by step.
Welcome
Press Get Started to begin.
Tell us about you
The profile step collects a few optional details to tailor your experience:
- Your name — how you'd like to be addressed
- Your role — e.g. Manager, Technician, Owner
- Industry — e.g. Automotive, Construction, Property
- Company size — helps us recommend the right plan
- How did you hear about us?
Try Voice Fill
Press the microphone button to answer all the fields by speaking instead of typing. It's a great way to see Voice Fill in action.
Choose your plan
Pick the plan that fits your team. You can always change this later.
Free — 1 user, 3 forms, 100 submissions/mo, 30 AI credits/mo
Pro — £10/user/mo, all features included (Voice Fill, team assignments, custom branding), limits scale with your team
Select Free to get started straight away. Choose Pro to unlock team features — you'll be redirected to Stripe to complete payment, then brought right back.
Set up your company
Enter your company name. This appears on your forms, reports, and anywhere your team sees your workspace.
If your plan supports custom branding you can also upload your company logo here.
Invite your team
On a paid plan you can invite colleagues right away. Enter their email address and pick a role:
- Admin — can manage forms, view all entries, and manage team members
- Member — can fill forms and view their own entries
You can always invite more people later from Company Settings, then Team. On the Free plan this step is skipped — upgrade anytime to start adding team members.
Create your first form
The final step gives you three options.
Generate with AI — describe what you need in plain English, for example:
"Create a vehicle safety check with tyre condition, lights, brakes, and fluid levels"
Press Generate and the AI builds a ready-to-use form in seconds.
Use a template — browse ready-made forms for your industry and customise them to fit your workflow.
Build manually — press Build manually to start from a blank canvas and add your own fields.